
How the integration works
The integration between Legalsense and Fortnox works both ways. This means that Legalsense sends information to Fortnox (e.g. debtors, matters, and invoices) but Legalsense also retrieves information from Fortnox (e.g. disbursements and payments of invoices).
This has the advantage that information does not have to be entered twice. For example: if the disbursements are entered in Fortnox and these are imported into Legalsense, this information only needs to be entered once instead of both in Fortnox and Legalsense.
Who can set up the integration?
In general, the link can be set up and managed by users in Legalsense who are linked to the group "sync accounting". However, we do advise you to involve your bookkeeper or accountant in this process so that the data ends up in Fortnox.
Setting up the integration with Fortnox
To create the integration, you need the following information:
- authorization code;
- the email address of the maintainer for the integration.
The integration can be set up via Settings - Fortnox and then click on Setup Fortnox now:

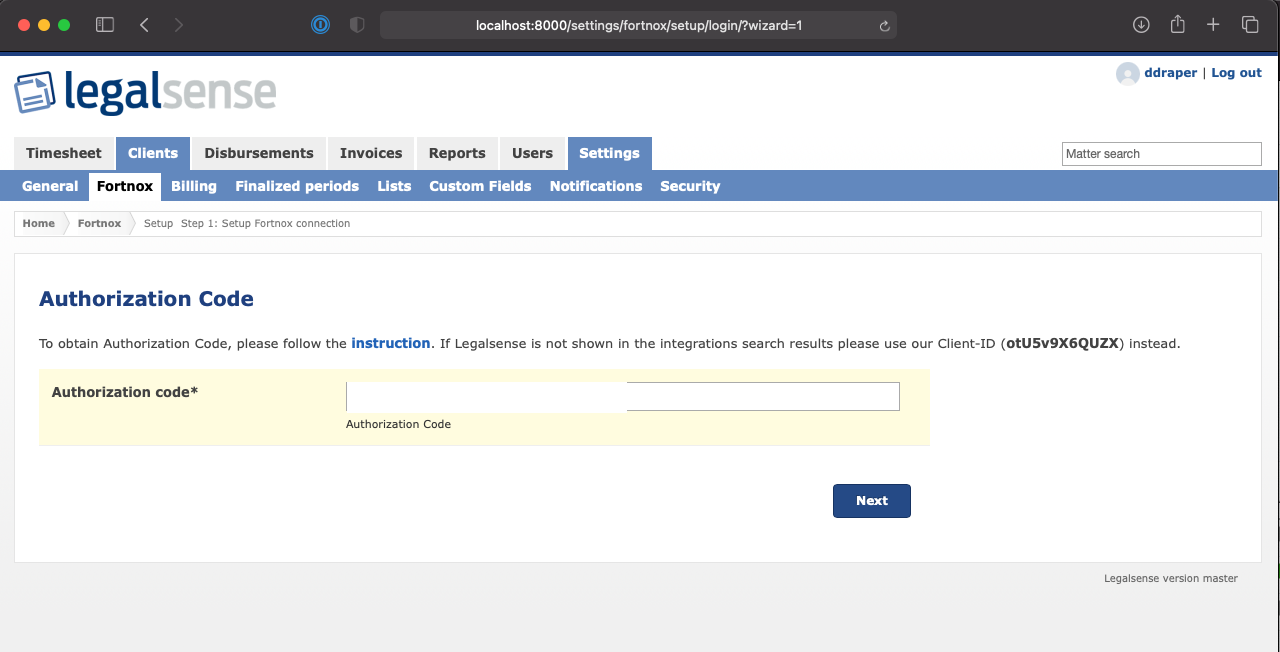
Step 1
You will need to enter the Authorization code, which you can find in Fortnox under "manage users" and click on Next:
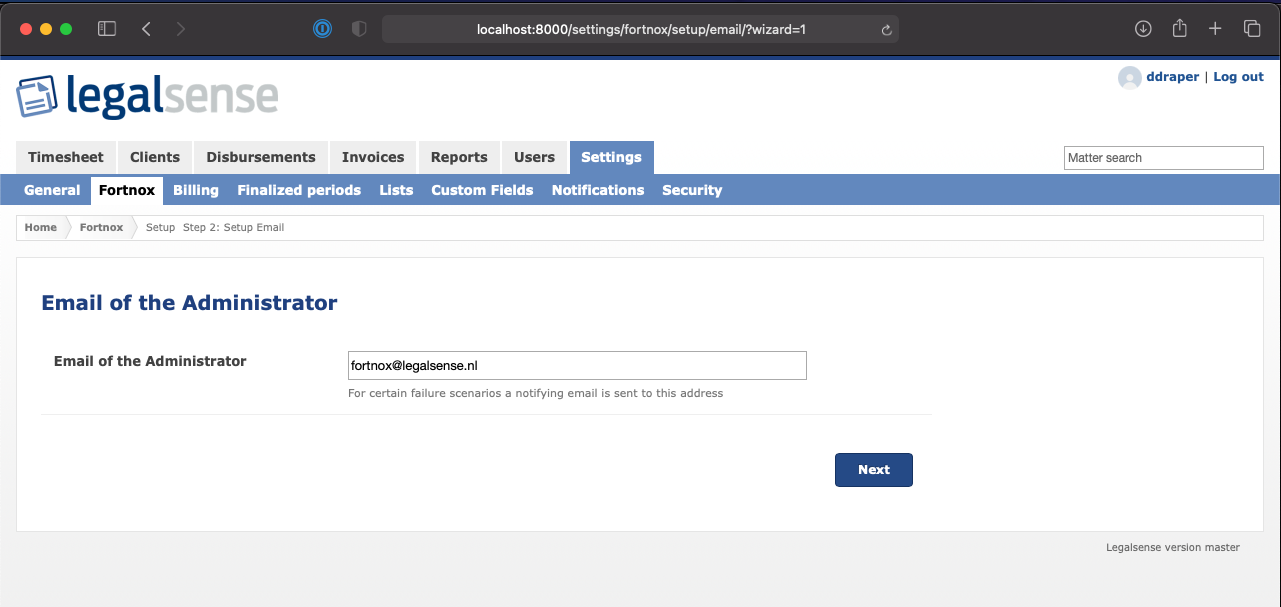
Step 2
Here you can enter the e-mail address of the user who needs to be notified when there is an error in the integration:
Step 3
In this step you can set up the "Flow" of the integration which means you can specify which data gets exported and imported:
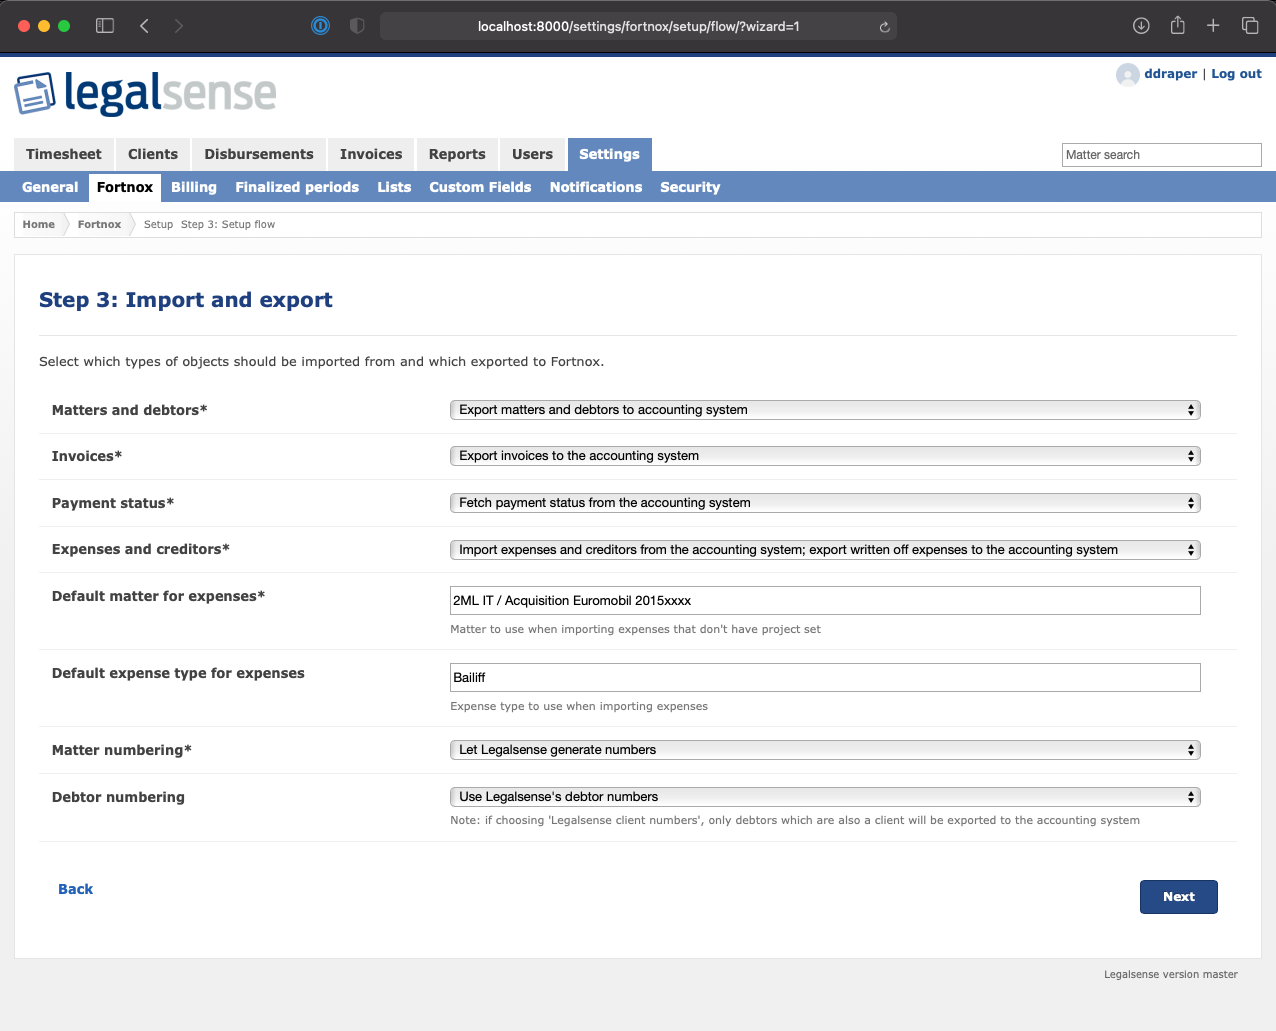
Explanation of the above choices:
Matters and debtors:
Here you can choose whether matters and debtors should be exported to Fortnox or only the debtors. If you want to record your third-party funds in Fortnox or enter the disbursements in Fortnox, the matters must also be exported to Fortnox; the default option is that matters are exported to Fortnox. These matters are then visible in Fortnox under 'projects'.
Invoices:
There is no other option here.
Payment status:
Here you can choose to fetch the payment status of an invoice from Fortnox or to ignore the payment status. By default, the choice has been made to fetch the payment status;
Disbursements and creditors:
The choice to be made here depends on a number of factors including the number of disbursements, the way in which these are processed (by your accountant or yourself), and the frequency of entering disbursements. If the frequency of entering disbursements is high, the disbursements can be entered in Fortnox and Legalsense can fetch them from Fortnox. If the administration is only processed on a 2-weekly or monthly basis, it is better to record the disbursements in Legalsense and choose whether or not to export them to Fortnox;
When choosing the option "Import expenses and creditors from the accounting system, export written off expenses to the accounting system" You will need to specify a default matter for expenses (in case there are expenses booked without a matter) and a default expense type for expenses.
Matter numbering:
There is no choice here. Legalsense will always create the matter number.
Debtor numbering:
By default, the choice "Use Legalsense's debtor numbers" is selected. The other option is "Use Legalsense's client numbers".
Note: If you choose "Use Legalsense's client numbers", debtors which are not clients will be booked on a miscellaneous debtor number which you can specify in Step 4. The disadvantage of this option is that if this happens frequently (debtors on a matter that are not a client) many invoices are booked on the "miscellaneous debtors". It is then no longer easy to find out in Fortnox who the original debtor was.
Step 4
Setting up ledger accounts
In this step, you can set up the general ledgers that need to be used in the integration. You can either choose to use the default ledger accounts that Legalsense provides or set up your own ledger accounts
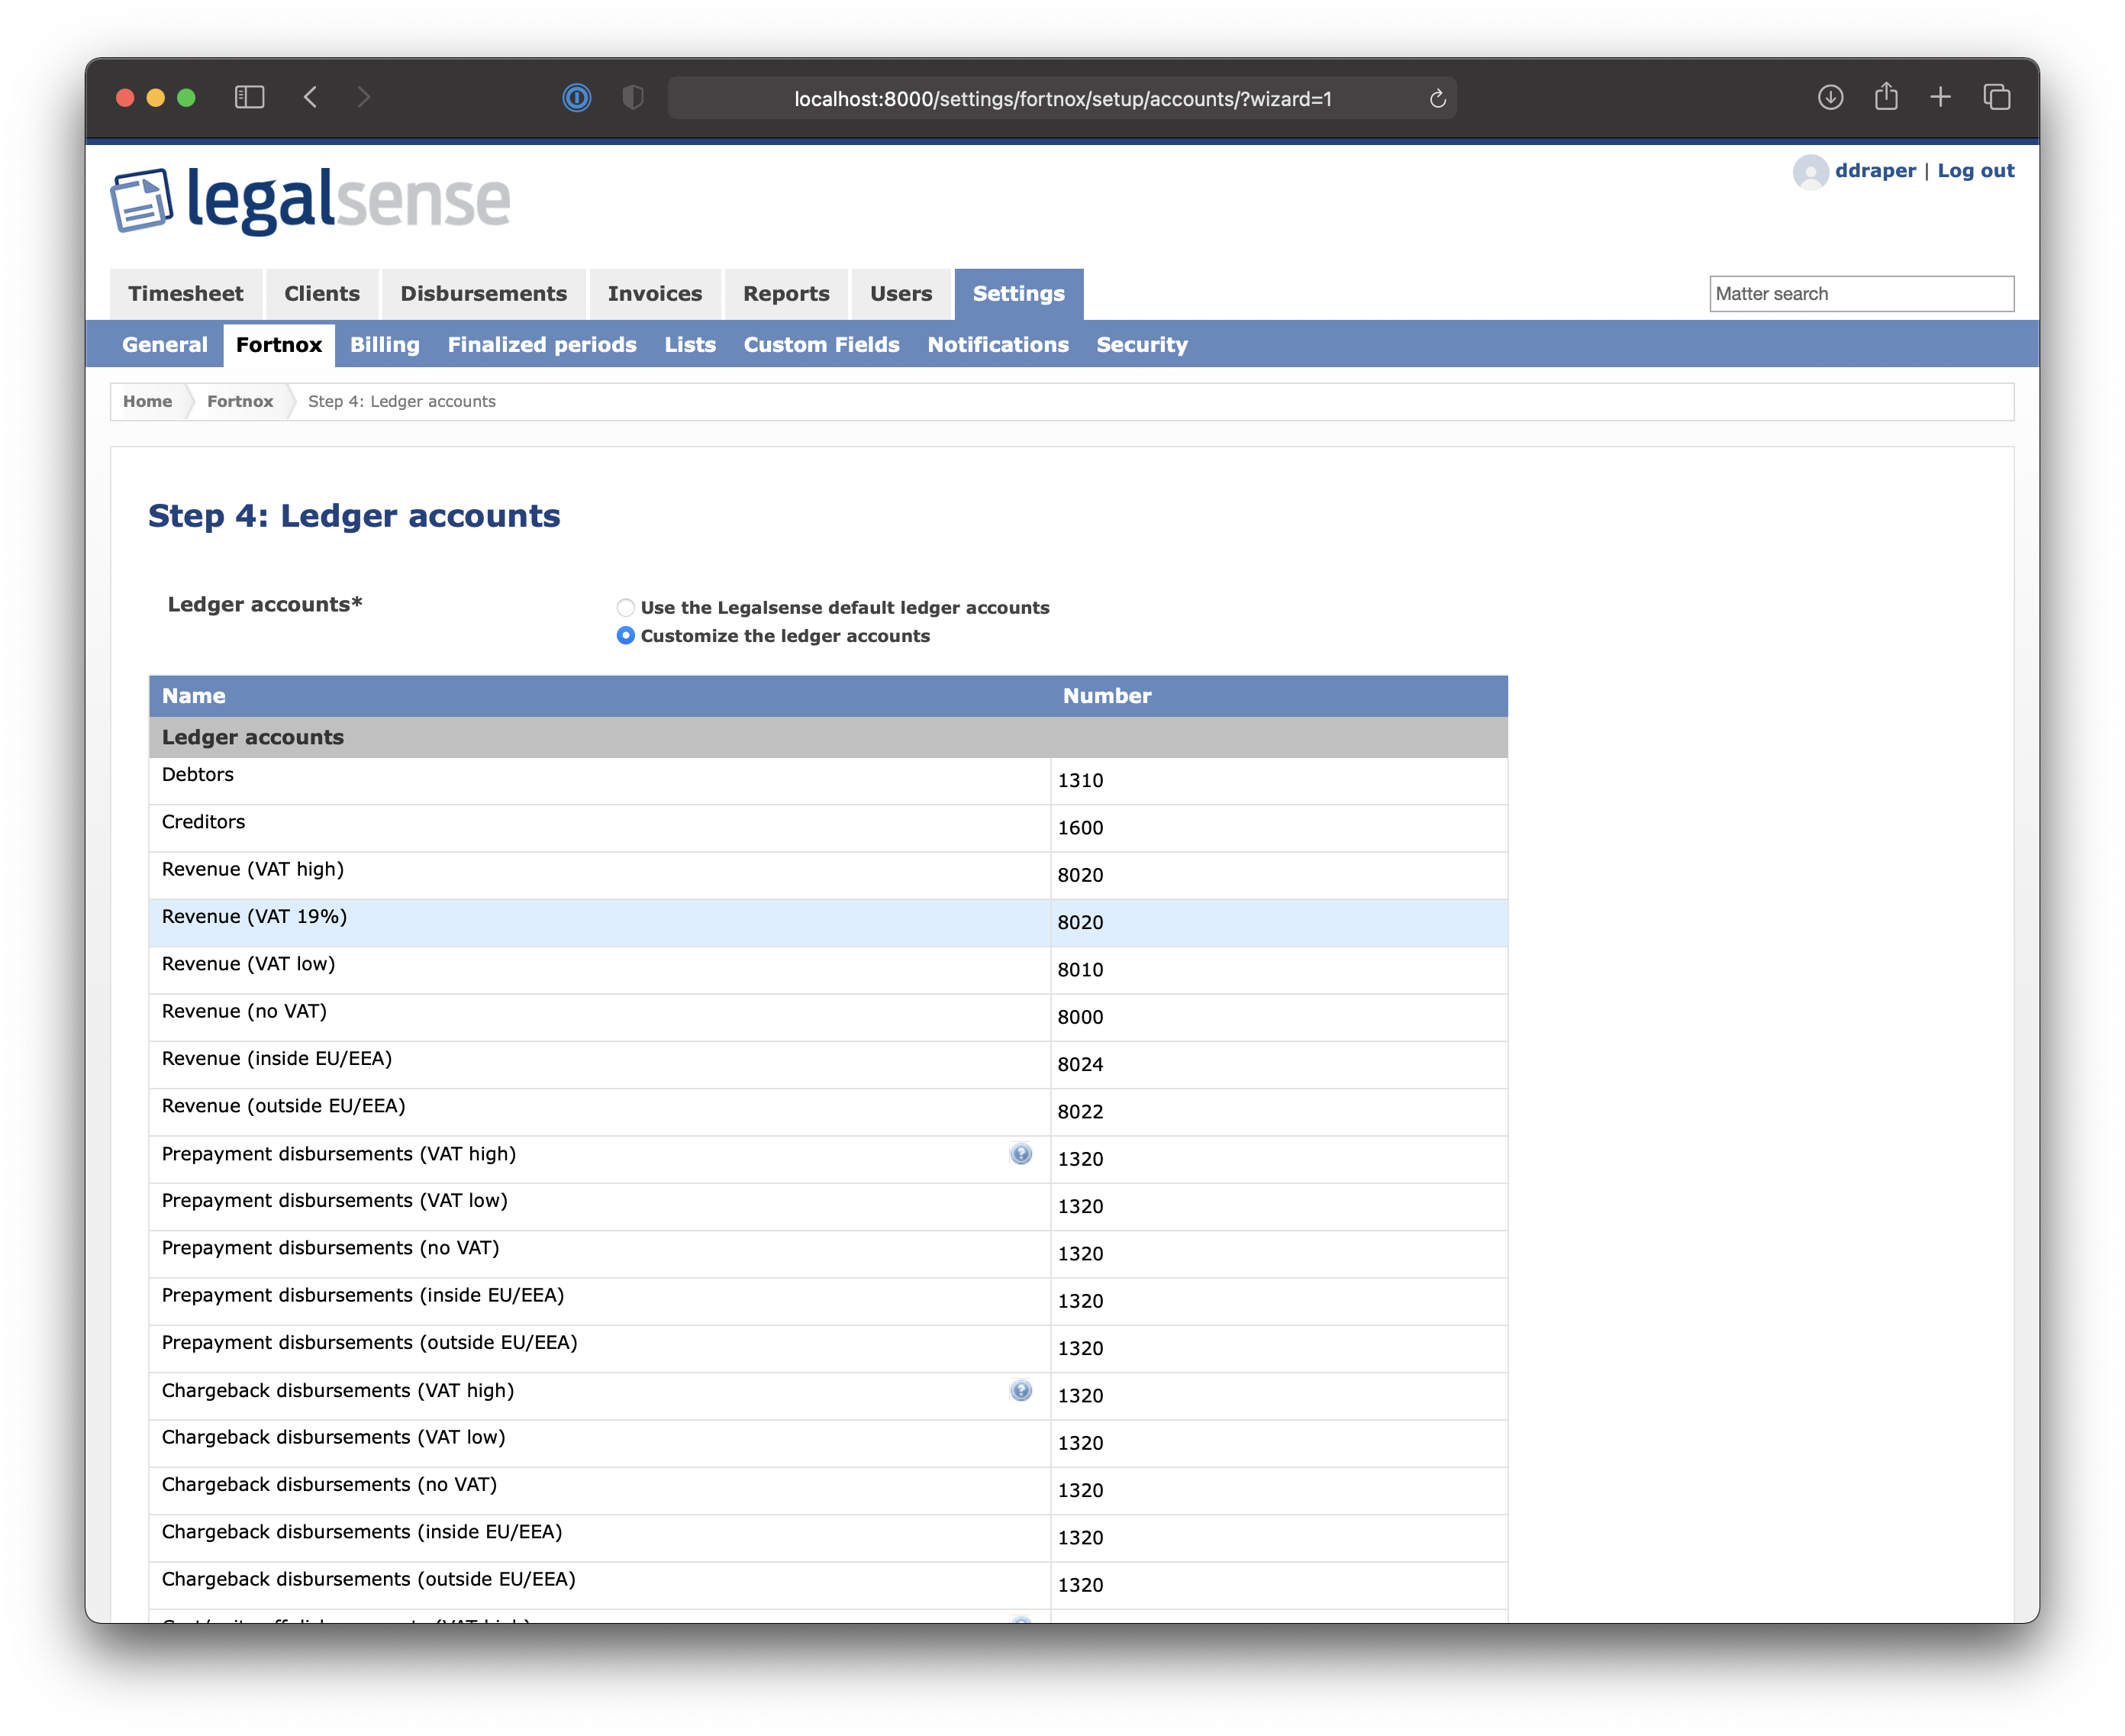
Once you have set up the correct general ledger accounts, you can click on Next.
Step 5
Turnover accounts per lawyer
In this step, you can set up specific turnover accounts per lawyer. You can book the revenue for each timekeeper on a different ledger or you can book the revenue on a cost center per timekeeper:
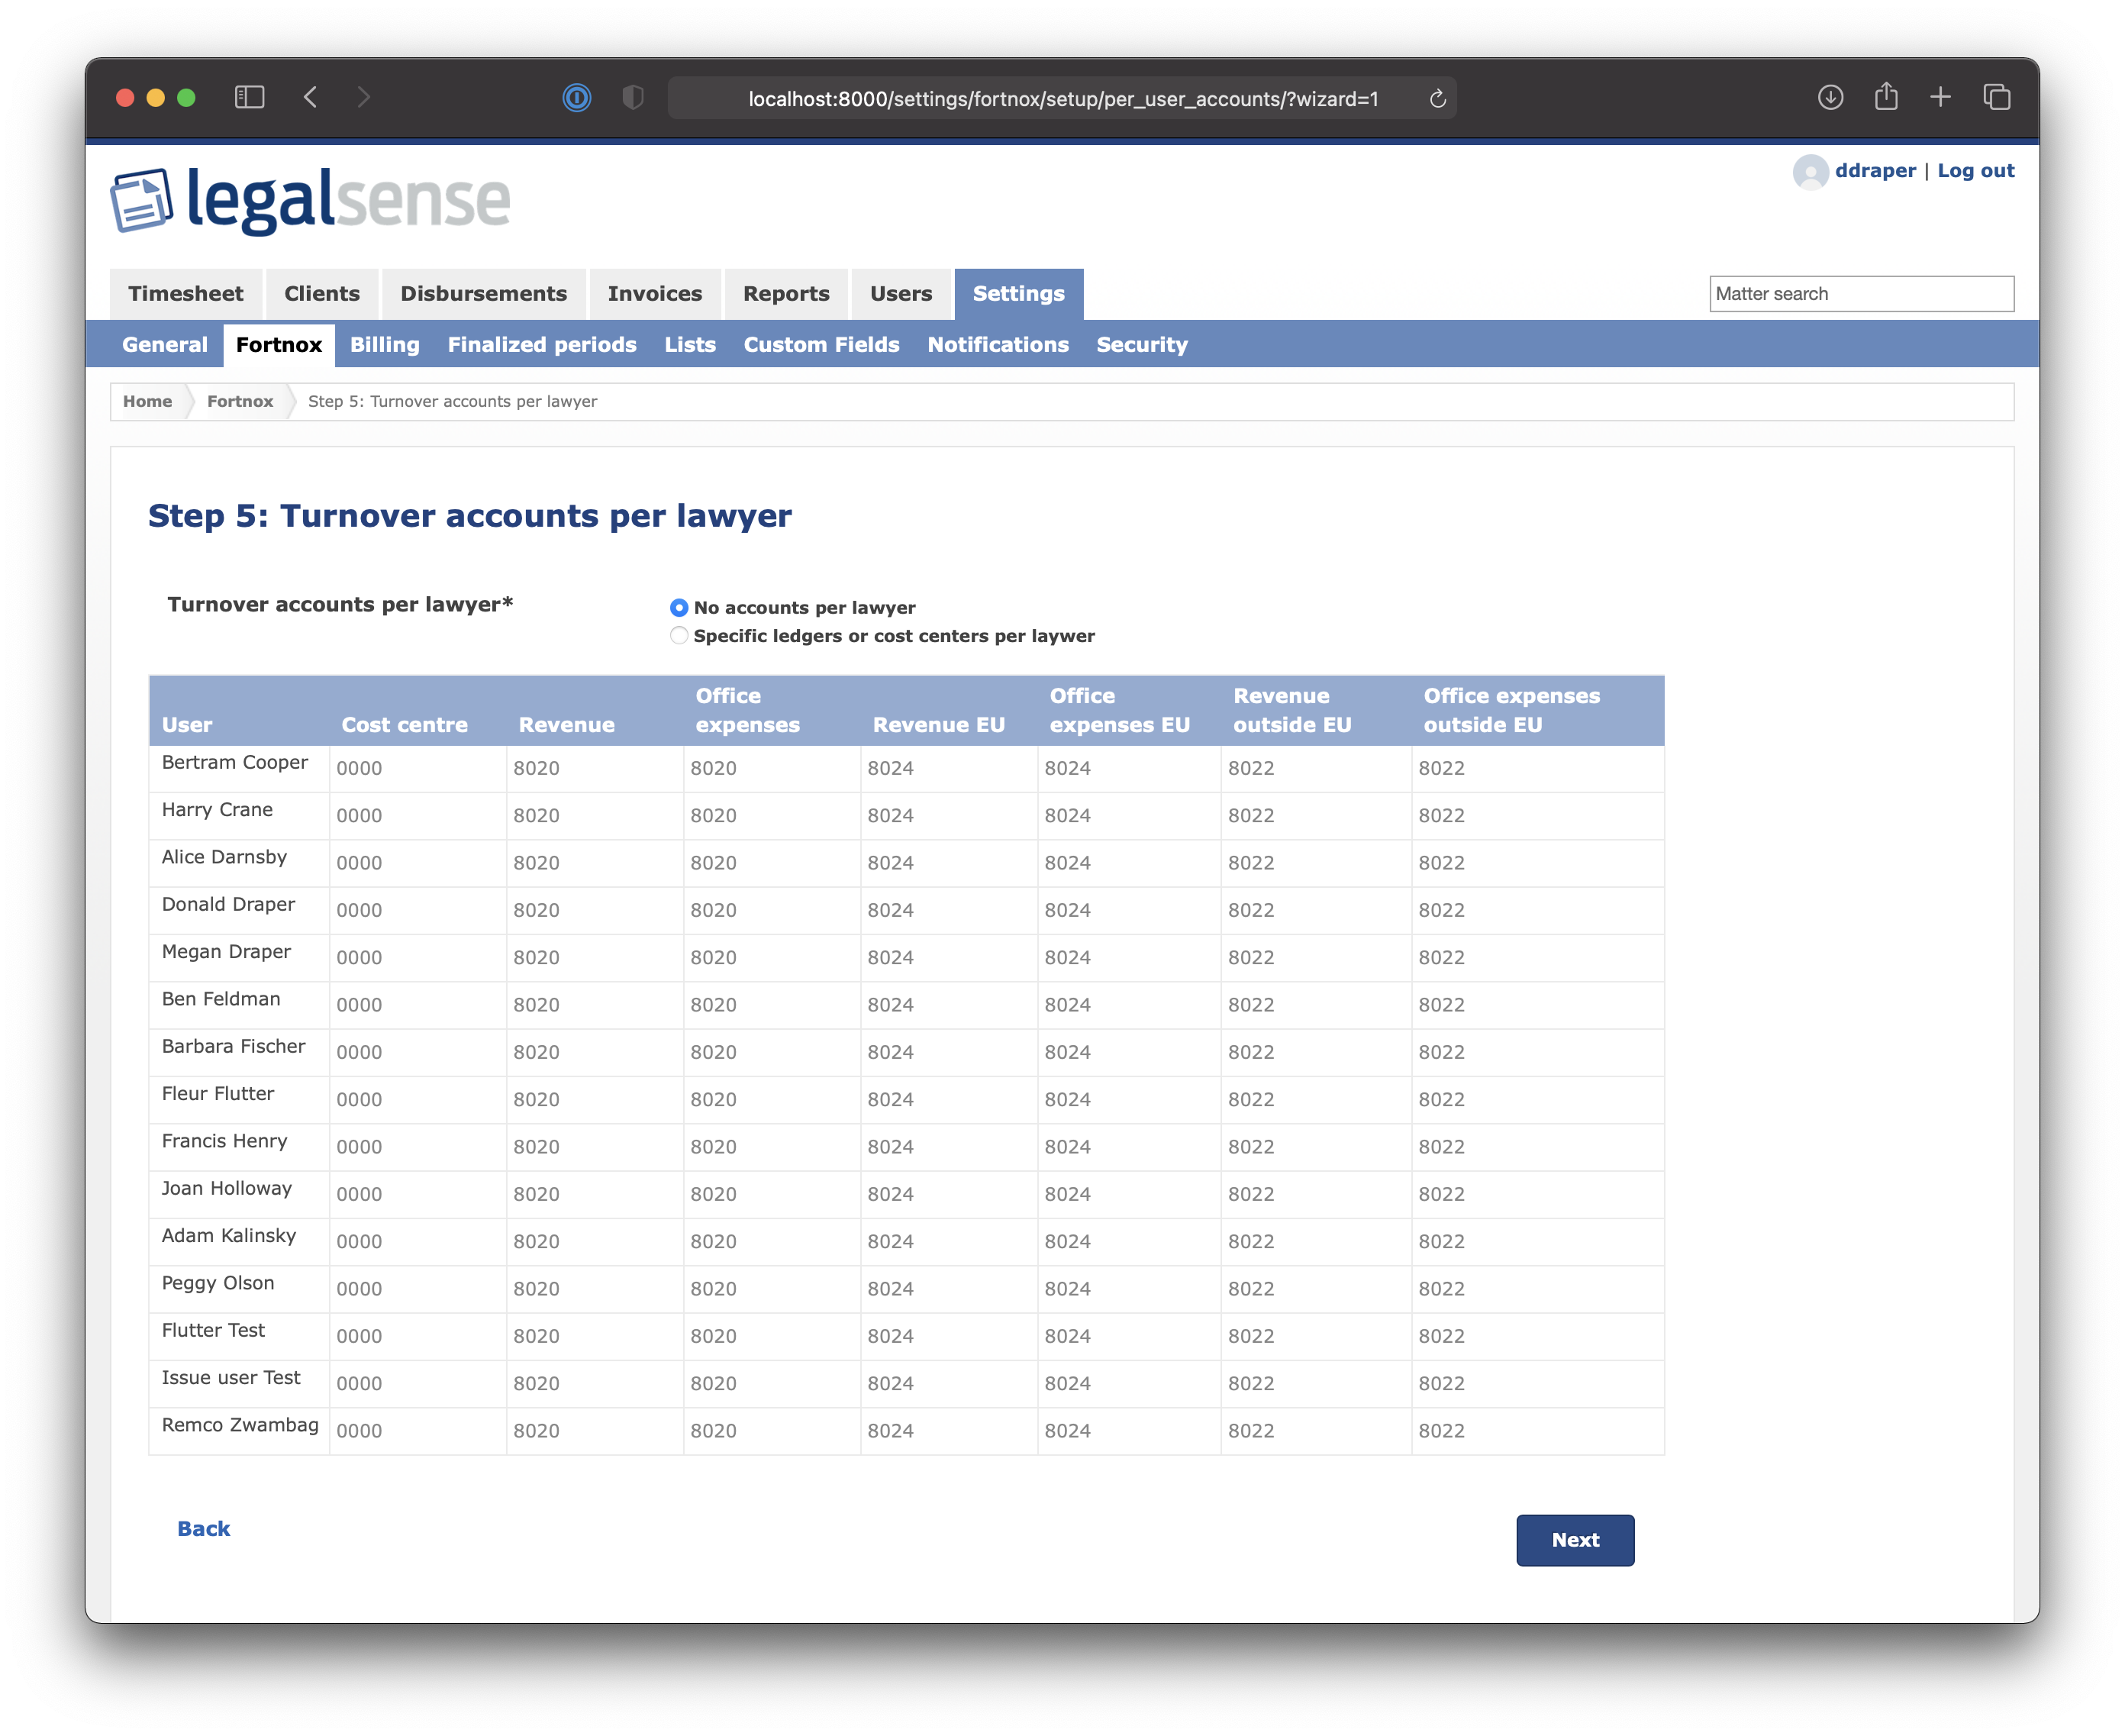
After you have set up the correct Turnover accounts per lawyer, you can click on Next
Step 6
In the final step you can specify from which date you would like to start synchronizing journal entries:
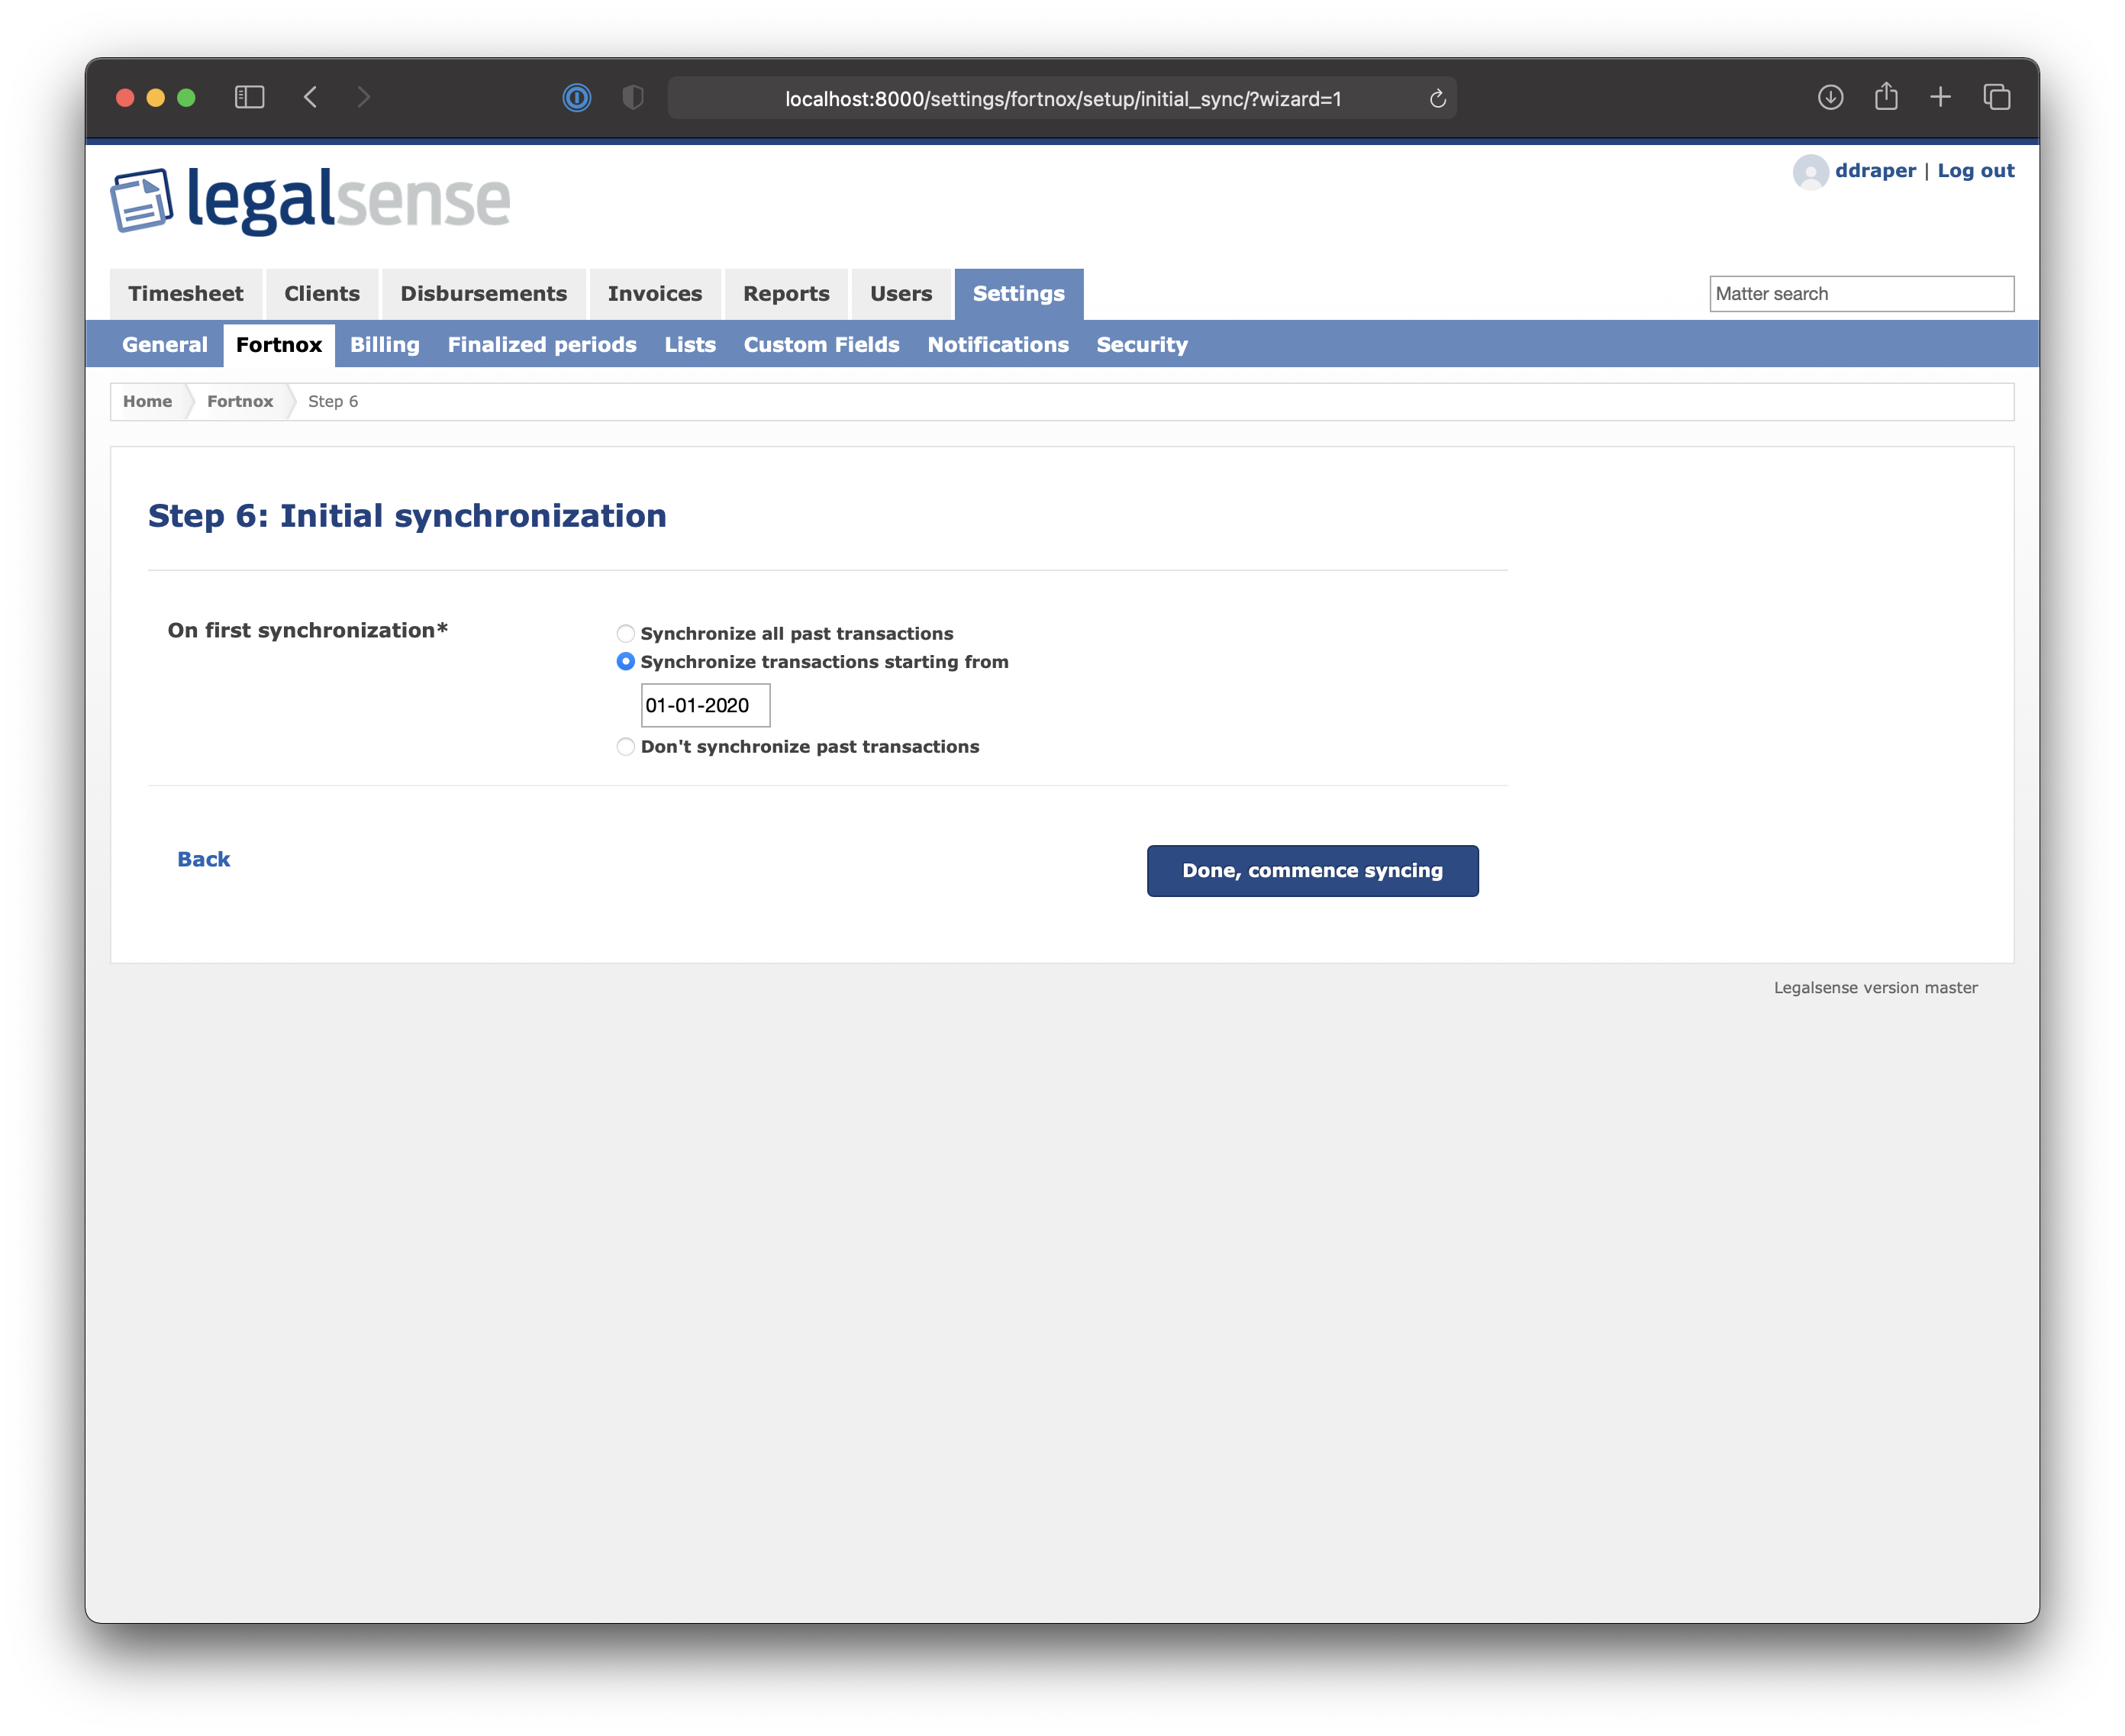
When you have selected the correct option, you can click on "Done, commence syncing". You will get a final confirmation:
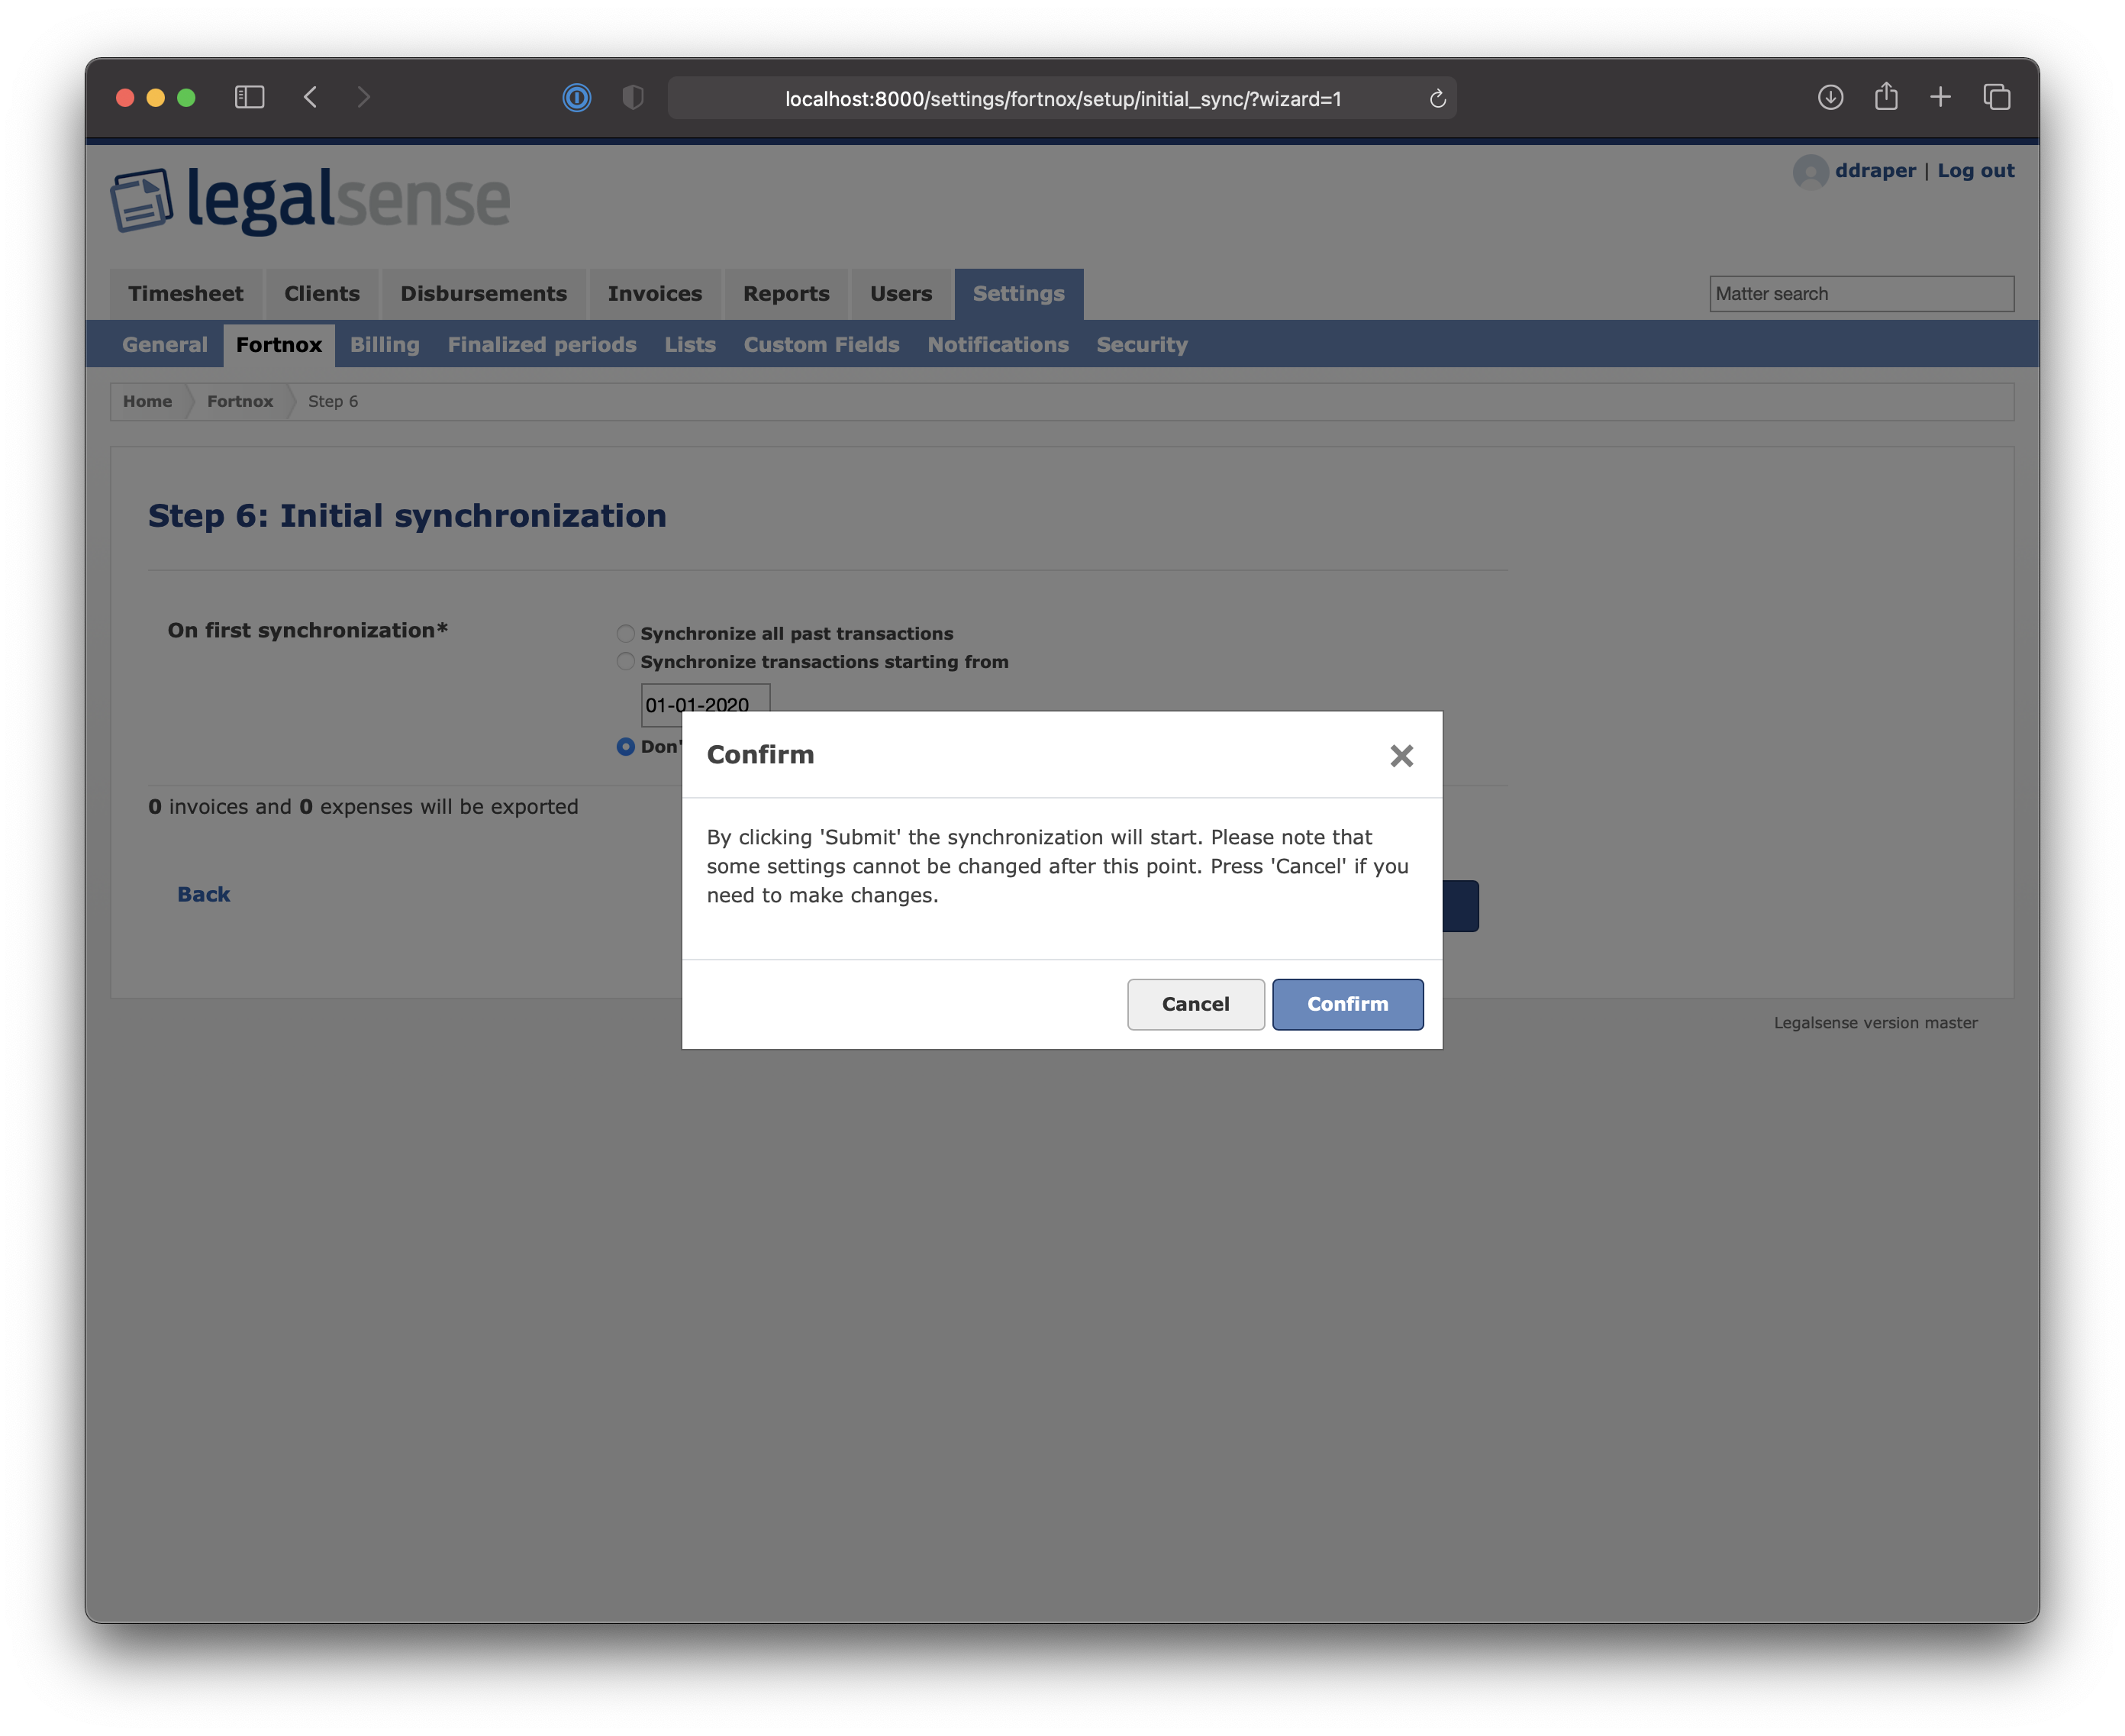
After you click on "Confirm" the synchronization will start. When there is an error, a notification will be sent to the e-mail address that is entered in Step 2.
Comments
0 comments
Please sign in to leave a comment.